Engraving for Beginners (How to start engraving)
What’s in my tool kit and FAQs
So you purchased a micro-drill to start hand engraving, or you’re still researching and aren’t too sure if this is something you want to invest in. Maybe you’ve already dabbled a bit, but might need a few more tips. Trust me, I was intimidated at first and had loads of questions. My engraver sat in it’s pretty little box for the longest time before I decided to actually put it to use. I wrote this blog to help beginners starting their journey into calligraphy engraving.
Here are some tips to help you out!
What’s in my hand engraving tool kit?
The engraver that I own is the micro-drill from Ram Products, Inc. It is their Mystisa 2 brushless motor. I purchased mine from Kestrel of Ink Me This. She offers a beautiful version of it with a customizable plate that you can have engraved with your name or your logo! It is definitely not cheap, so if you’re still thinking about whether or not this is for you I would purchase a nail drill from Amazon to try it out first. There are some great alternative at a lower price for beginners getting into calligraphy engraving.
Diamond Burrs
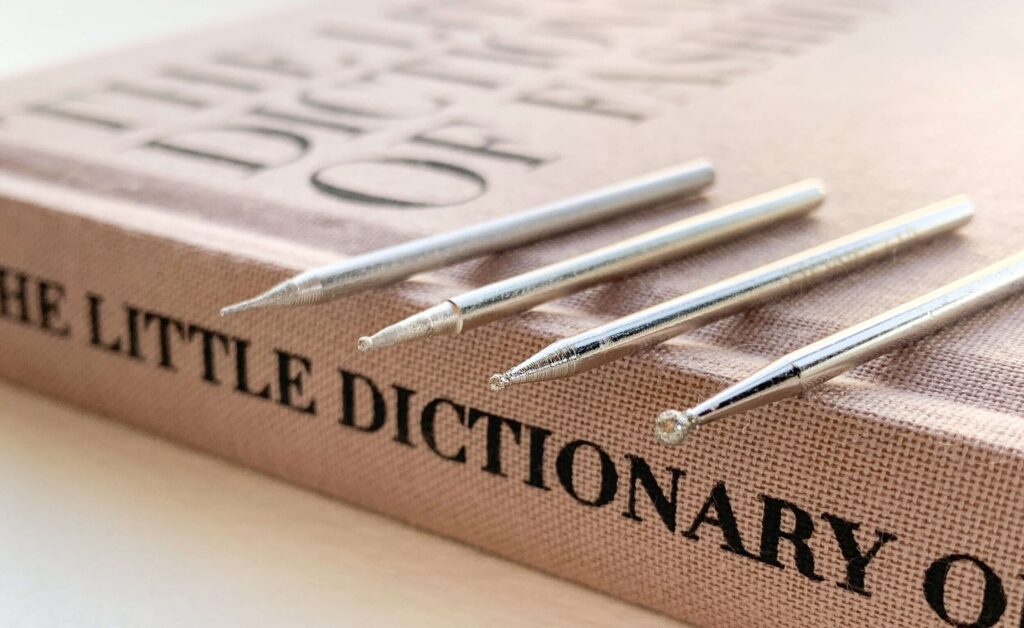
There are many different sizes of burrs on the market. I just use a select few, mostly because I stick to what I like and I rarely steer away from that. The sizes I use are 0.4 mm, 0.8 mm, 1 mm, and 2 mm (my least used size.) I do a lot of detailed illustrations and dainty engravings on tiny perfume bottles, so the 1 mm and smaller sizes are perfect for my work. The 2mm burrs are great for wine bottles and larger items or if you prefer a thicker stroke to your engraving lines.
Burr Lubricant
I always use some type of lubricant, such as water or burr lubricant. This is to prevent the burrs from overheating from the friction, which causes the diamond grits to burn or fall off making it wear quicker. If you’re working with metal and glass, especially thin glass, it’s important to use a lubricant because the overheating can cause the glass to crack.
Drafting Tools for Engraving
The Stabilo Aquarellable pencil is my go-to drafting pencil. You can purchase them in multiple colors, which I recommend getting at least the white and black colors. I love these for a quick draft because they’re easily wipeable. If I’m working on a larger project and I know I’ll be repositioning the item a lot during the engraving process, I will use a Sharpie water-based paint pen. That way my hand won’t accidentally erase my draft and it can be wiped off with some rubbing alcohol. I once drafted an entire detailed floral illustration on a bottle with the pencil and my hand wiped off half of the draft… *face palm*.
As a beginner engraver, I highly recommend drafting before going in freehand. Once you become more comfortable controlling your drill, your need to draft will become less and less!
How to color and fill your engraving
So now you’re finished and you want to make the engraving pop a little more. Rub ‘n Buff is the most popular wax that engravers use. They come in a variety of different colors to fit your project needs. It’s really easy to use, and a little goes a long way. Simply apply with a q-tip or a cotton pad to the engraving and rub it in. It will only stick to the engraving and rub off of the smooth surface. Rub ‘n Buff does not work on all surfaces so test it out prior to starting a project! Textured or porous surfaces, like marble, will absorb the wax and will get stained. Also, make sure you don’t get the wax on any labels because it will stain.
Tip: Apply the wax in small sections at a time so the wax doesn’t dry and leave residue on the areas you don’t want it. If you run into that problem, just apply a bit of wax over the dried residue and rub it away.
Other useful engraving tools
I have all of my tools in my Amazon storefront for your convenience – listed here!
- Brush (to dust away after engraving)
- Washi Tape (to cover any areas I don’t want the wax to stain)
- Q-tips & cotton pads
- Small pillow (to stabilize irregular shaped objects while engraving)
- Dust mask (you don’t want to be breathing in the dust and debris! The ones I wear come with carbon filters.)
- Protective glasses
The most important things to keep with you is personal protective equipment!!
These are just what I keep in my kit at home. If it’s for an on-site job, I will pack additional items and backups. I didn’t want to overwhelm you with a long list of things that you don’t necessarily need at the beginning of your engraving journey. Part of it is finding your own technique and tools you like to use to help you with your process!
FAQs about engraving
What speed should I set my engraver?
My engraver can go up to 35,000 RPM, which is the speed I’m comfortable with using for most projects. It gives the smoothest lines. You may have to adjust the speed when you’re engraving different surfaces and using different sized burrs. I decrease to around 20,000 RPM for plastic or metal surfaces. If in doubt, start slow. The higher the speed, the more slippery and harder it is to control. When I’m working with a new surface, I will start with a lower RPM.
How often should I switch my burrs?
That really depends on your usage. If you have a heavy hand or don’t use some kind of lubricant, your burrs will wear quicker. A good sign is when you’re not producing clean, smooth lines or if your burr is skipping. Tip: Save your used burrs! They are good to use on different surfaces, such as metals.
Is it safe to wash after filling with color?
It’s okay to wash since the wax is permanent (for the most part). Make sure you aren’t putting it in the dishwasher or scrubbing the filled area too hard, eventually it will wear away.
Rub ‘n Buff is toxic, so I would avoid putting it on anything that is used to consume food or drinks.
Where can I learn engraving?
There are some amazing online courses to take to jumpstart your engraving journey! If you’re a calligrapher that wants to start offering engraving services to your clients, Someday Art Club offers the “Engraving Fast Track for Calligraphers” course, taught by Jodi from Someday Art Co. and Sylvia from Via Calligraphy.
They also offer the “The Luxury Lettering Bundle” which includes the engraving course, Luxury Lettering 101, and The Calligrapher’s Template Toolkit. All the courses can be taken separately if you only find certain ones applicable to you.
I’ve taken many classes from Jodi and I love her courses! She offers great insight into business and tips as a seasoned fine artist.
—
Now you have all the tools you need to get started on engraving everything you own (haha). Trust me, it’s addicting…
Let me know if you have any other questions regarding engraving! You can find me on Instagram @nhbydesign, where I post more tips and behind-the-scenes of projects I’m working on. Check out some of my past events for live engraving on my blog!
Some of the links are affiliate links, which means I’ll receive a small commission if you use it (no cost for you!) I will only promote things that I personally use & standby!

leave one here!
comments